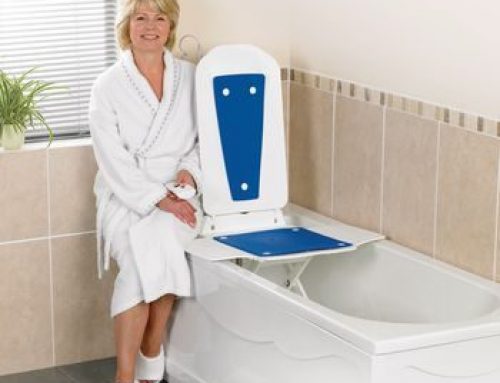
One of the biggest advantages of a bathtub lift is that it’s very easy to install. When the bathtub lift arrives in the box, it’s already about 95% assembled!
There are only a few steps left for you to complete to ensure that your bathtub works properly, and here they are:
1. Open the bathtub lift box and unpack its contents.
2. With the bathtub lift on a flat surface, take the back portion and move it all the way towards the reclined position. This will prepare it to be locked in place.
3. Attach the upholstery. This is done by either snapping buttons on the upholstery to the bathtub lift or by pressing tabs in that will hold the upholstery in place.
4. Connect the hand control (which also doubles as the battery) to the bathtub lift and hold in the “up” direction until the lift has reached its upper limit.
5. If your bathtub lift has suction cups that are not already installed, install the suction cups now since the seat portion will be out of your way.
6. Bring the bathtub lift back down to its lowest reclined position and lay it down in the tub in a position that maximizes space.
7. Bring the bathtub lift back up towards the top until the side flaps are level with the rim of the tub.
Congratulations! You are ready to use your new bathtub lift! Once you have finished bathing, you can remove the controller and charge it in an outlet with the provided charger. Charge the controller between uses, and you’ll be able to enjoy soaking in your bathtub whenever you want, without interference.
If you have more questions about bathtub lifts, contact us today and we’ll gladly help you out.


Leave A Comment
You must be logged in to post a comment.